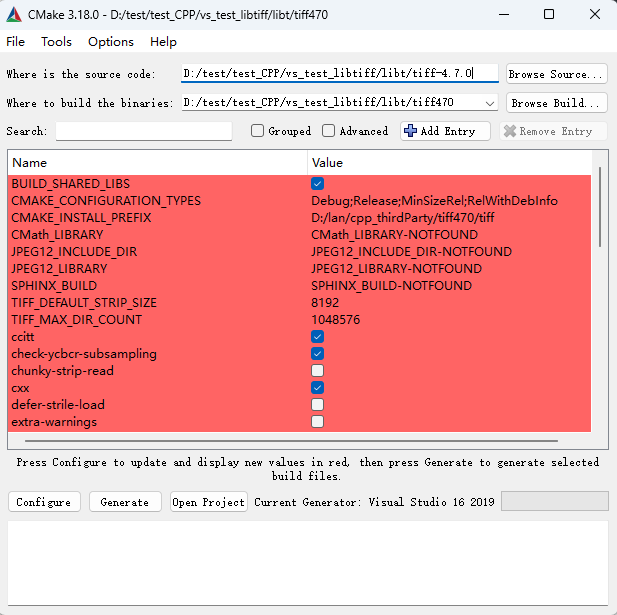
2025-06-30:写完这篇文章后发现,虽然编译成功了,能够正常使用libtiff库,但是libtiff库默认不支持jpeg格式,所以如果需要libtiff能够解析jpeg格式文件,需要附带jpeg进行编译,这个我还没有完全实现。待填坑ing……
背景:Windows11、VS2019、已成功安装libtiff库但无法解析使用了JPEG压缩的tiff或者svs图像
使用libtiff库时报错:
xxx.tiff: JPEG compression support is not configured.
问题出现的原因是libtiff库本身不支持JPEG压缩,所以需要额外安装JPEG压缩第三方库
步骤:
1.首先是安装并解压 JPEG压缩包,点击界面上的 jpegsr9f.zip 链接就会自动下载zip包
2.打开vs2019的“Developer Command Prompt for VS 2019”工具(系统搜索能搜到)
3.cd到jpeg-9f这个目录
4.键入命令行 nmake /f makefile.vs setup-v16 ,当前目录下会自动生成一个jpeg.sln
5.用vs2019打开jpeg项目,配置改成release x64,右键项目生成
6.测试是否成功:vs2019打开jpeg-9f目录下的apps.sln,全部生成
7.还是用第二步的工具,在jpeg-9f/这个目录下,执行命令 nmake /f makefile.vs test-64
8.若出现下面这个结果则表示JPEG库编译成功
Microsoft (R) 程序维护实用工具 14.29.30147.0 版
版权所有 (C) Microsoft Corporation。  保留所有权利。

        IF EXIST .\Release\testout* del .\Release\testout*
        .\Release\x64\djpeg -dct int -ppm -outfile .\Release\testout.ppm testorig.jpg
        .\Release\x64\djpeg -dct int -gif -outfile .\Release\testout.gif testorig.jpg
        .\Release\x64\djpeg -dct int -bmp -colors 256 -outfile .\Release\testout.bmp testorig.jpg
        .\Release\x64\cjpeg -dct int -outfile .\Release\testout.jpg testimg.ppm
        .\Release\x64\djpeg -dct int -ppm -outfile .\Release\testoutp.ppm testprog.jpg
        .\Release\x64\cjpeg -dct int -progressive -opt -outfile .\Release\testoutp.jpg testimg.ppm
        .\Release\x64\jpegtran -outfile .\Release\testoutt.jpg testprog.jpg
        fc /b testimg.ppm .\Release\testout.ppm
正在比较文件 testimg.ppm 和 .\RELEASE\TESTOUT.PPM
FC: 找不到差异

        fc /b testimg.gif .\Release\testout.gif
正在比较文件 testimg.gif 和 .\RELEASE\TESTOUT.GIF
FC: 找不到差异

        fc /b testimg.bmp .\Release\testout.bmp
正在比较文件 testimg.bmp 和 .\RELEASE\TESTOUT.BMP
FC: 找不到差异

        fc /b testimg.jpg .\Release\testout.jpg
正在比较文件 testimg.jpg 和 .\RELEASE\TESTOUT.JPG
FC: 找不到差异

        fc /b testimg.ppm .\Release\testoutp.ppm
正在比较文件 testimg.ppm 和 .\RELEASE\TESTOUTP.PPM
FC: 找不到差异

        fc /b testimgp.jpg .\Release\testoutp.jpg
正在比较文件 testimgp.jpg 和 .\RELEASE\TESTOUTP.JPG
FC: 找不到差异

        fc /b testorig.jpg .\Release\testoutt.jpg
正在比较文件 testorig.jpg 和 .\RELEASE\TESTOUTT.JPG
FC: 找不到差异...

评论 (0)